|
When it comes to baking, measuring is key. It’s one of those little things that can make a huge difference between a dry cookie and a soft cookie, or a well-risen cake and one that ends up a little flat. A tip I often give people when they say they can’t bake to save their lives or that their last baking adventure was a disappointment is, “Check your measurements and try again”. As you gain more confidence and more experience in the kitchen, you can also start experimenting with recipes and taking liberties with measurements. Adding a little lemon zest, or cutting some sugar in your favorite, tried-and-tested recipe can take your treats to an all-new level! If you’re just starting out or just starting to introduce your kids to the wonders of baking, I recommend sticking to specified measurements. The good news is that learning how to measure ingredients is a very easy lesson to learn! If you’re teaching your kids how to measure ingredients for the first time, or just want to give them a quick refresher into what they already know before letting them back in the kitchen—here’s some information I’ve put together! 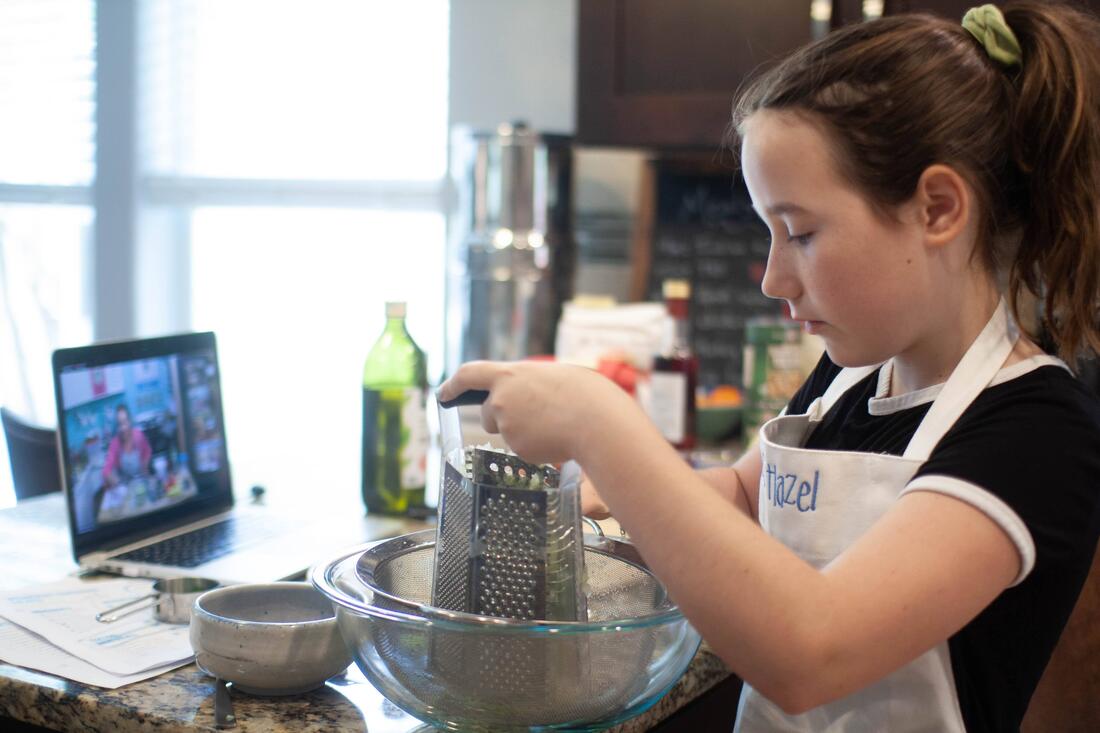 Meet your measuring toolsStandard units of measurement differ slightly according to where you are in the world. In the United States, standard kitchen measuring tools are cups and spoons. Here’s how to use these tools, what ingredients can be measured with each, and some tips on how to measure your ingredients. Measuring cupsThese come in four different sizes: 1 cup (one cup) ½ cup (half a cup) ⅓ cup (a third of a cup) ¼ cup (a quarter of a cup) This measurement can be found inside the cup, on the handle, or sometimes even on the bottom of your cup. I personally find the ones that have the measurement marked on the handle much easier to use :) You generally use your cups to measure dry ingredients like flour, sugar, and powdered sugar. If you’re teaching your kids how to do the measurements themselves, you may want to demonstrate the easiest way to do this to help them avoid making too much of a mess. First, dip your cup into your dry ingredients and bring up a heaping cup full of it. Then, use an offset spatula or a butter knife to push off the excess gently and level your cup. Your flour shouldn’t be heaping over your cup, it should be level with the rim. The only time you will need to use a packing technique with your measurements is for brown sugar. Brown sugar is the only ingredient that will need to be packed down into your measuring cup. The process for that starts off the same as measuring any other dry ingredient. First, dip your cup into your brown sugar and sweep just a little bit of the excess back into your container. Then, press your brown sugar down into your measuring cup with your hand until it’s tightly packed. It’s as easy as that! Measuring spoonsMeasuring spoons also come in four different sizes: 1 tablespoon (one tablespoon) 1 teaspoon (one teaspoon) ½ teaspoon (half of a teaspoon) ¼ teaspoon (a quarter of a teaspoon) Your measuring spoons are for ingredients that are used in small amounts like baking flour, baking soda, and salt. You can use the same dip and level technique with your measuring spoons as you do with your cups. Dip your spoon into your ingredient like baking powder, then level it with an offset spatula or butter knife. Alternatively, containers like baking powder cans come with a little ledge that you can run your spoon across to sweep off the excess :) Liquid measuring cupWhen you’re measuring out your liquid ingredients like milk, water, and cream, you can use a liquid measuring cup if you have one. All you need to do is make sure you place your measuring cup on a level surface like a kitchen counter. Then, just pour your ingredient directly into the cup and watch it carefully to make sure you hit the right measurement that is marked along the surface of your cup. I like to bend down so my eyes are on the same level as the measuring cup for more accurate measurements :) Now that you know how to measure ingredients, you’ll be unstoppable!Learning little kitchen skills—like measuring—will set you and your kids on the right path to more delicious treats and much more success with all your baked goods :) Good luck!
0 Comments
Leave a Reply. |
AuthorBefore founding Bake Austin, Pascal Simon earned her degree as a Pastry Chef from the prestigious Auguste Escoffier School of Culinary Arts. A mother of two, Pascal is passionate about cultivating the next generation of bakers and welcomes children from all schooling backgrounds, whether public, private or homeschooled. Archives
October 2023
Categories |
 RSS Feed