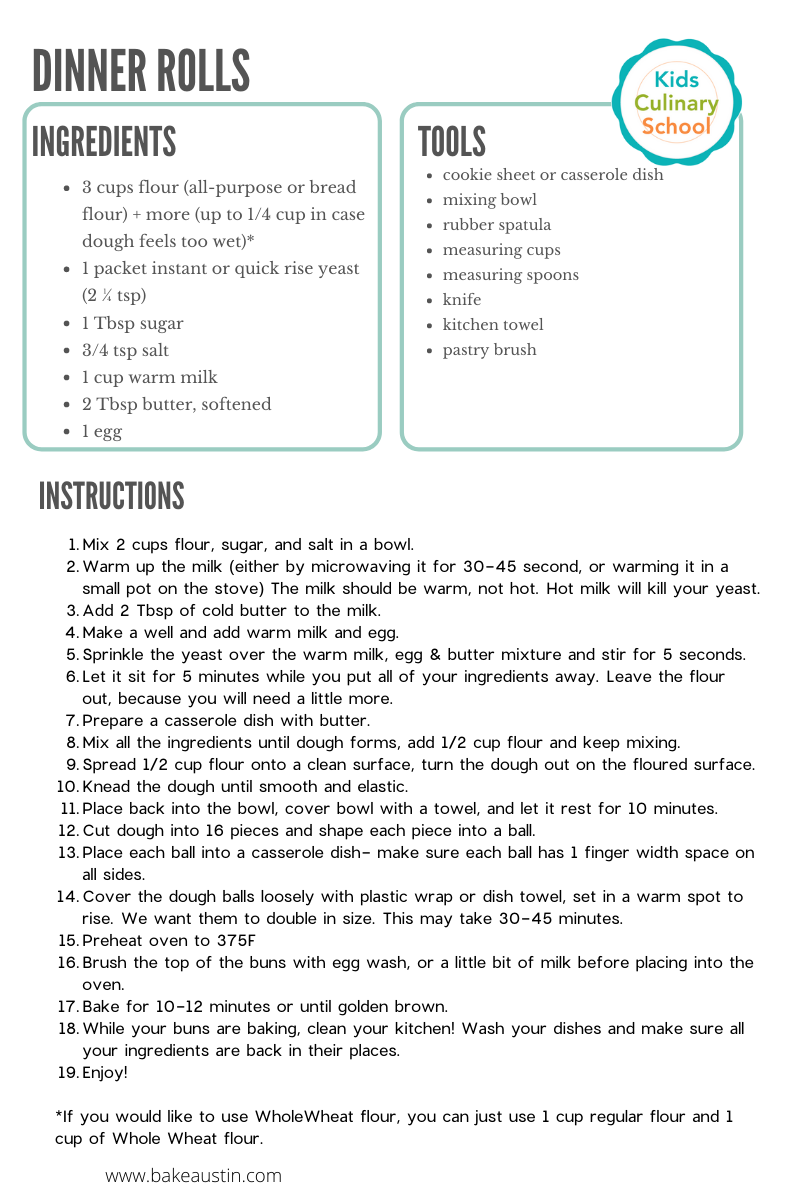
 Thanksgiving is upon us and even though it is such a fun thing to be cooking for everyone, it might also be awesome if you get a little help from everyone in your family. Even your kids! Here is a super simple recipe that your kids can do. Make sure you have them clean up as they work. It is in the instructions, but it is always part of the deal. “You want to bake? Great, but chef’s also leave a clean kitchen! Thank you! 😊” Dinner Rolls are a great addition to your Thanksgiving table and the kids could have fun shaping them into cute shapes, like cornucopia, or a turkey, or apples, or pumpkins. Served with your delicious Thanksgiving meal these rolls will also let your kids to be part of the family tradition.
0 Comments
Rules may sound like no fun, but in reality, they actually help our kids to be more disciplined in whatever they do, helping them achieve success. Similarly, every aspiring chef also needs to follow some basic rules. When I was little, I’d just go ahead and do whatever I liked when I was cooking, and let me tell you, I got into quite a bit of trouble! Children are very impressionable, so teaching them rules will make them more responsible in the kitchen and ensure that everything they do, they do safely. So, let’s take a look at the golden eight rules of cooking every young chef should learn :)  1) Mise en place
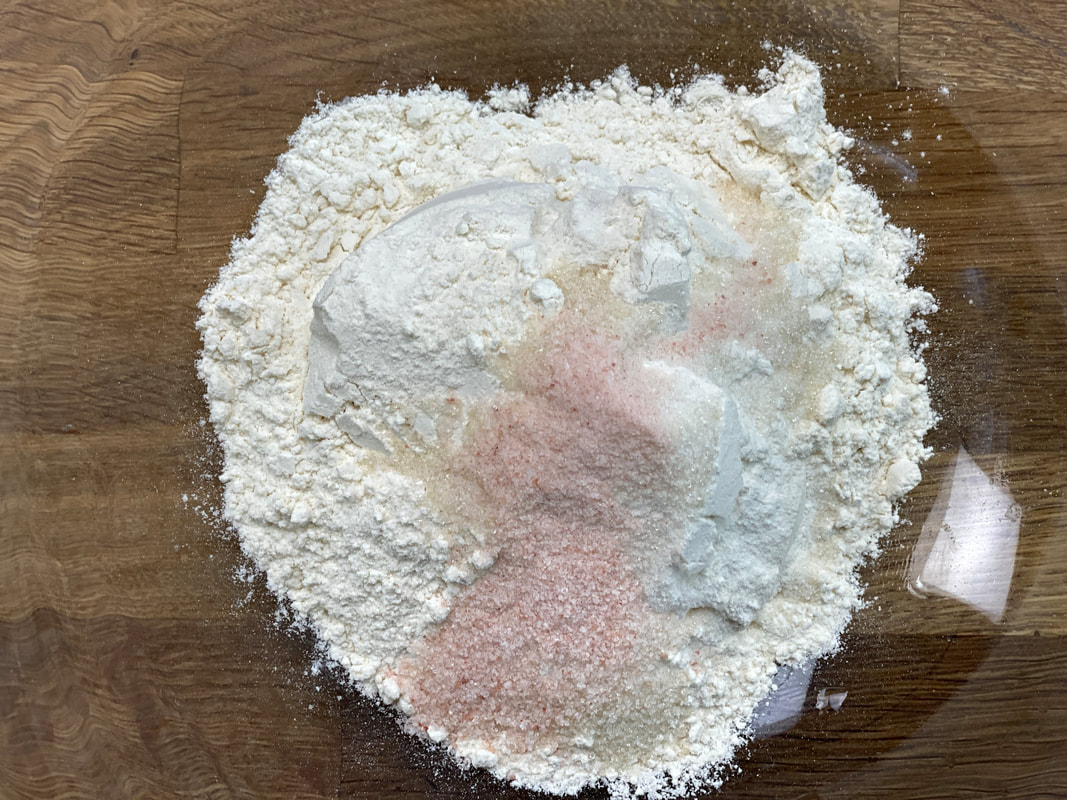
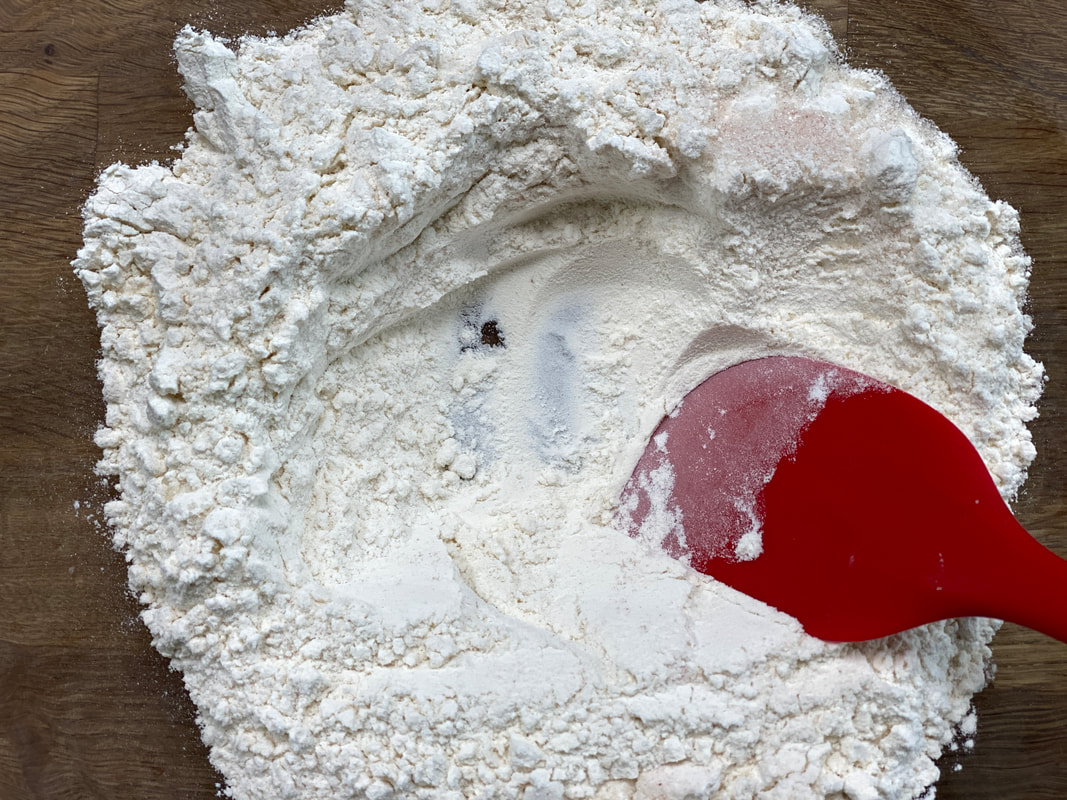
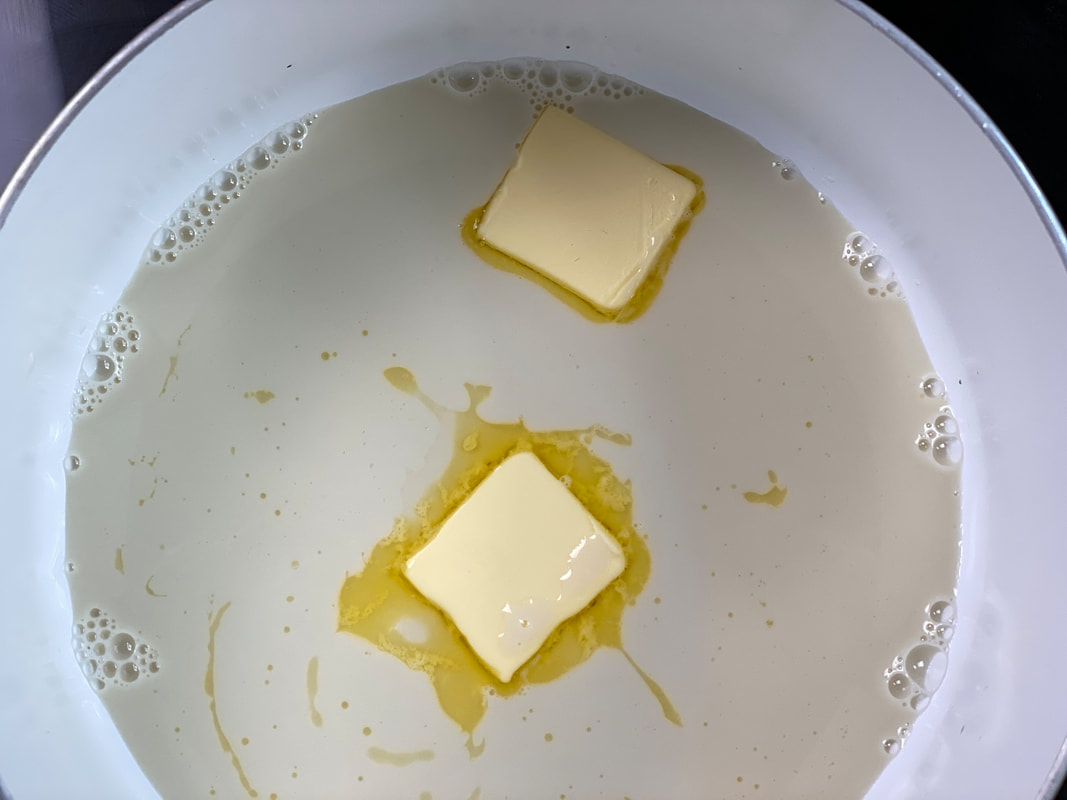
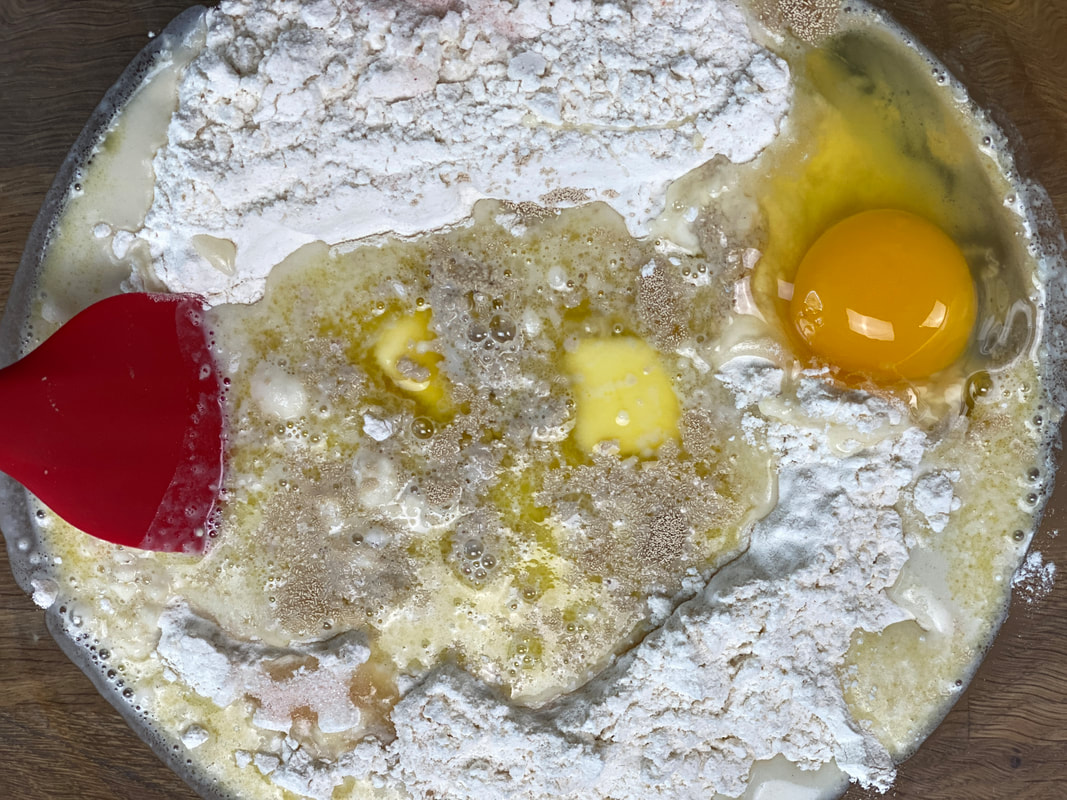
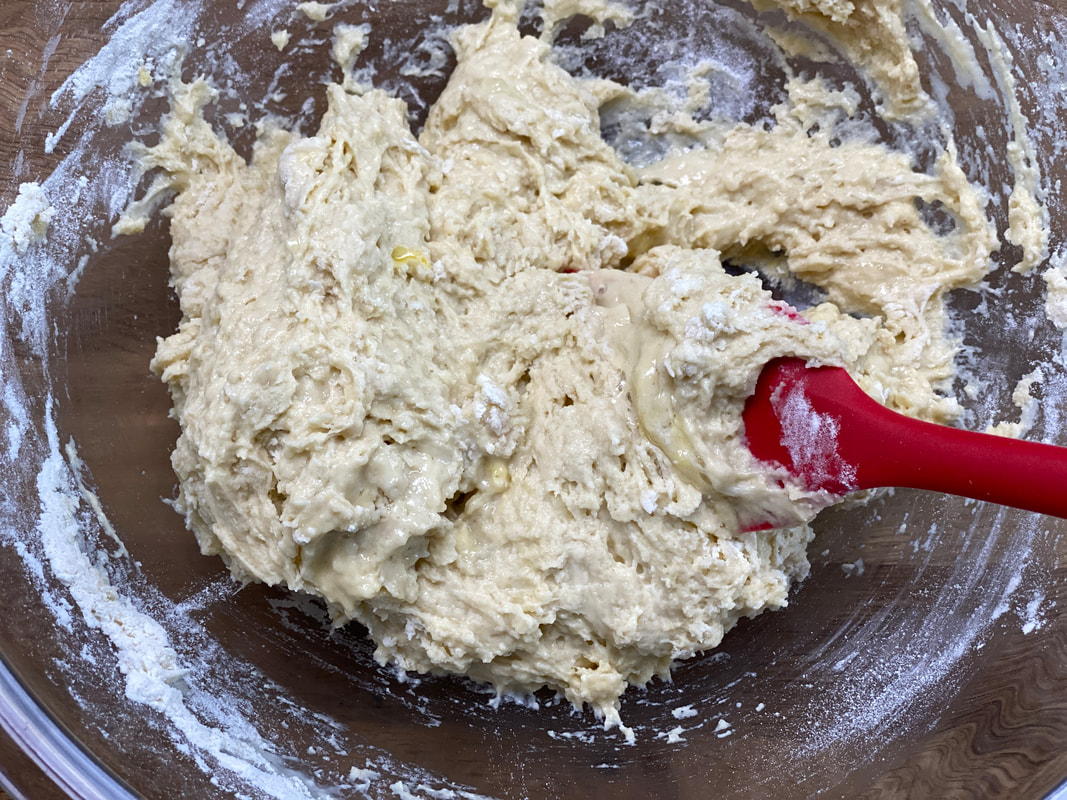
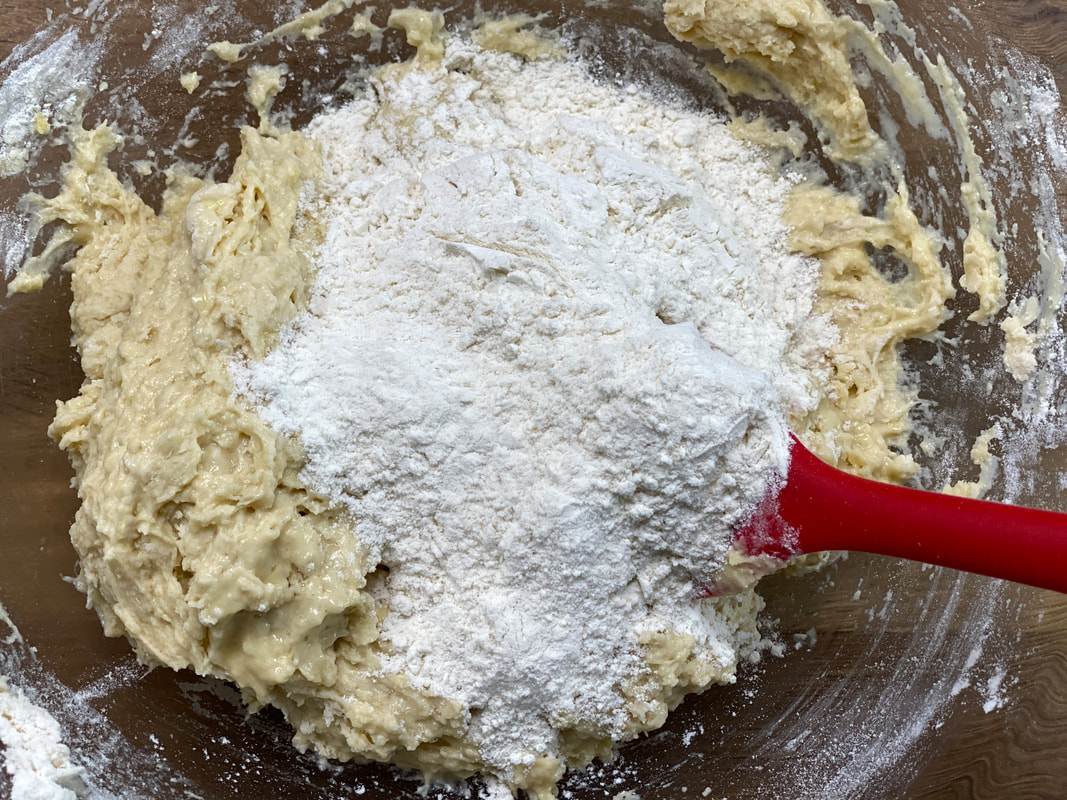
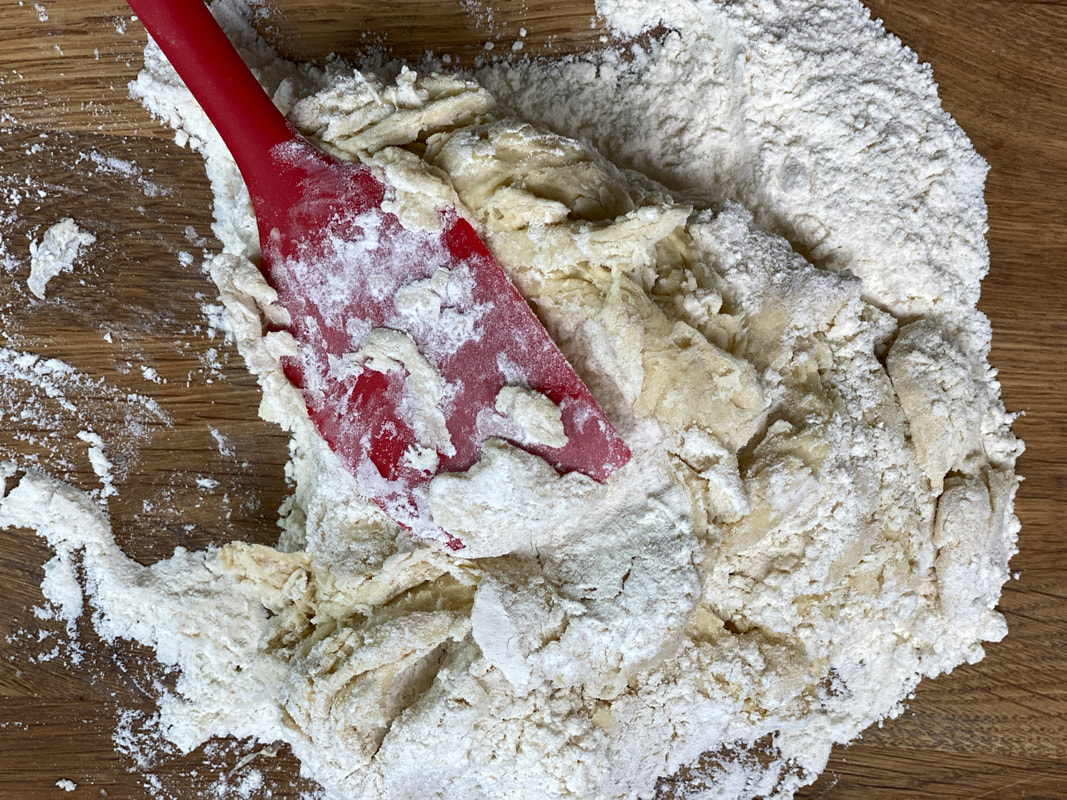
Mise en place is a French culinary term for “putting everything in its place”. It’s important to teach your kids to place each ingredient in separate bowls after measuring them and place them next to the mixer. Before using any ingredients, make sure to cross-check each of them with the recipe. This sounds like a very simple rule, right? The thing is, a lot of us tend to skip this step entirely and it’s very easy to forget a certain ingredient and have your recipe come out completely wrong. It’s normal for kids to get excited and put ingredients in without checking them, so reminding your kids to keep track of all their ingredients for a recipe is a good idea, or maybe have them make a checklist that they can use. 2) Be safe For me, safety should be the priority for whatever you do—this includes cooking too. If your kids don’t have any experience in using knives, mixers, and ovens, you must teach them how to use these safely and carefully first. Learning how to safely use appliances and kitchen utensils will take some time and that is completely fine—let your kids take their time and tell them that it’s okay to ask for help. 3) Stay focused Distractions can be very dangerous. I remember when I was ten years old, I got distracted while melting some wax on the stove and nearly set the kitchen on fire! Cooking requires a lot of focus, so it’s important to make sure that your kids don’t get distracted in any way while they are cooking. Make sure mobiles or any other distractions are out of the kitchen. 4) Always use a timer Using a timer is a good habit, especially when you’re baking—it will certainly help keep time and make sure your food doesn’t burn! If you don’t have a timer at home, you could use the timer on your mobile. Make sure you keep your ears open for the alarm! 5) Hands clean/hair back Preparing food with unclean hands is a big NO! Make sure your kids always wash their hands thoroughly and if they have long hair, have them tie it back. Make this rule the first one they need to follow before they start cooking. 6) Food safety Food should always be prepared hygienically. Using unclean utensils or cooking in an unclean environment can bring dirt and pet hair into your dishes! Ensure your kids wash their kitchen utensils before using them and tell them to never use any ingredients or food that falls on the floor—those go straight to the trash. If your kids crack eggs, ask them to clean the table when they’re done and tell them to wash their hands; raw eggs carry salmonella, which can make you very sick! 7) Clean up Ah, the dreaded clean up! Now I know this can be a boring task for kids and it’s completely understandable. However, every good chef must clean up after themselves, and it’s a reflection of their professionalism. Have your kids wash all their dishes with soap and water and set them to dry. After that, put everything back in their place and you’re done! 8) Learn from it Sometimes your child’s first attempt at cooking may not turn out the way they want it. Every good chef makes mistakes and it’s nothing to be ashamed of and you should always let your child know this. Every mistake is a step towards success, what’s important is that we learn from them. After every cooking adventure, sit down with your kids and talk to them about what they’ve learned, how they followed the rules of cooking, and where they need help. Work with your kids and help them improve where they feel they need help and encourage them to keep trying and try out new recipes :) The 8 golden rules of cooking for a more enjoyable time in the kitchen! Cooking is fun, but there are rules we all need to follow in the kitchen so we can have safe cooking adventures every day. When your kids practice these rules every day, they’ll become more independent in the kitchen and you’ll know that your kids are slowly growing into master chefs! Stay safe, follow the kitchen rules and have fun! Every good chef needs to know how to mix their ingredients. The ingredients you use in your dishes have to be introduced and bond with each other in just the right way to bring out the best in them! Now, when I was little, I loved throwing ingredients into a bowl and mixing up all the different textures to see what would happen! I had a lot of fun but the results were never really edible :) Once I discovered—and got the hang of—different mixing methods, I was ready to take on any recipe that came my way. To make sure your kids get the most out of their kitchen adventures, it’s important to teach your kids to cook with the right techniques! These are three of the main mixing methods that are sure to come in handy :) 1) Mixing dry and wet ingredients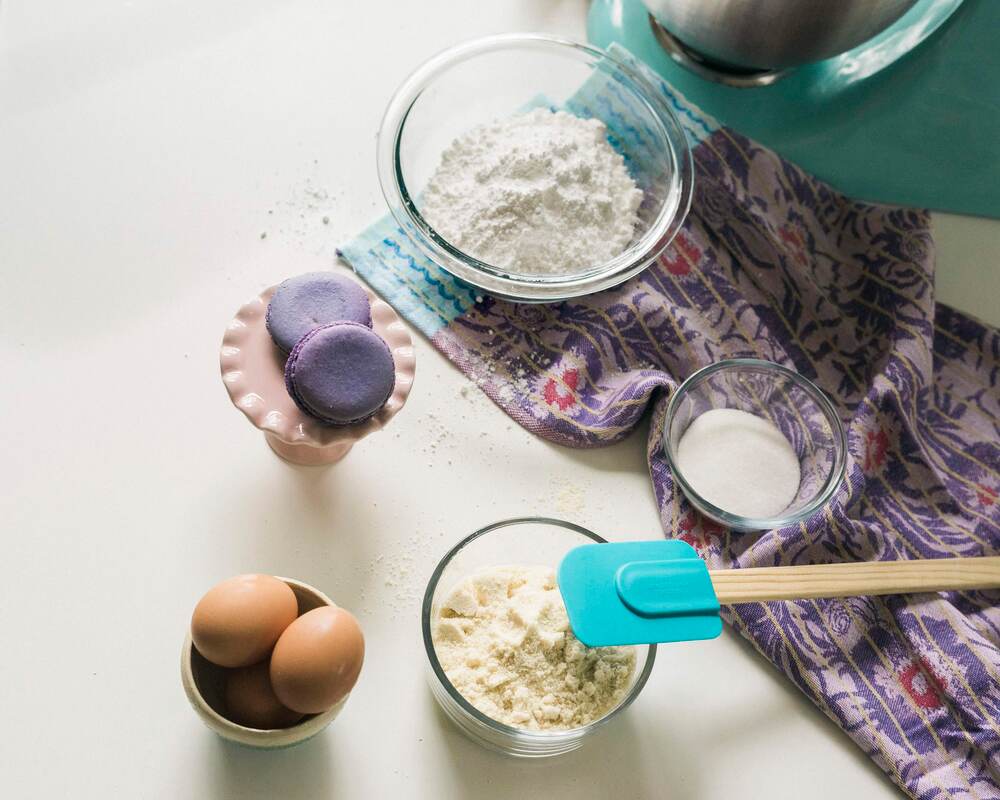 This method can be applied to most cake, muffin, and cookie recipes. Here, you need to show your kids how to combine dry ingredients, like flour and baking powder, and wet ingredients, like eggs and milk. First, place each group of ingredients in two separate bowls. Your wet ingredients go in one bowl and your dry ingredients will go in the other. Using a whisk, combine the dry ingredients in the bowl to get rid of any lumps. You can demonstrate the best way to hold the whisk and move the ingredients in the bowl without sending anything flying over the sides. Getting your dry ingredients together doesn’t need too much strength—over-enthusiastic whisking, however, will send some of your ingredients flying out of your bowl so watch out for that! Now, do the same with your bowl of wet ingredients. This may require more energetic whisking than your dry ingredients to break down your chunky eggs and make a cohesive mixture. Finally, put the two groups of ingredients together and mix them until they are just combined. 2) Straight dough methodThis method is used for making bread dough. Different bread types may need different wet ingredients or kinds of flour, so make sure you plan what kind of bread you want to make ahead of time and have a few extra ingredients on hand. First, put all your dry ingredients—flour, yeast, and sugar—together and mix them. Once the dry ingredients have been mixed thoroughly, add in your wet ingredients, like eggs and water. Now, for the fun part! Time to knead the dough! First things first! Make sure your kids wash their hands thoroughly before they start kneading. Before kneading the dough, put it onto a cutting board or kneading mat. You can even use a clean countertop or table for this step! Once the dough has been kneaded well, remind your kids to wash their hands again. This is the best way to avoid finding remnants of dough in odd places in your kitchen :) 3) Creaming method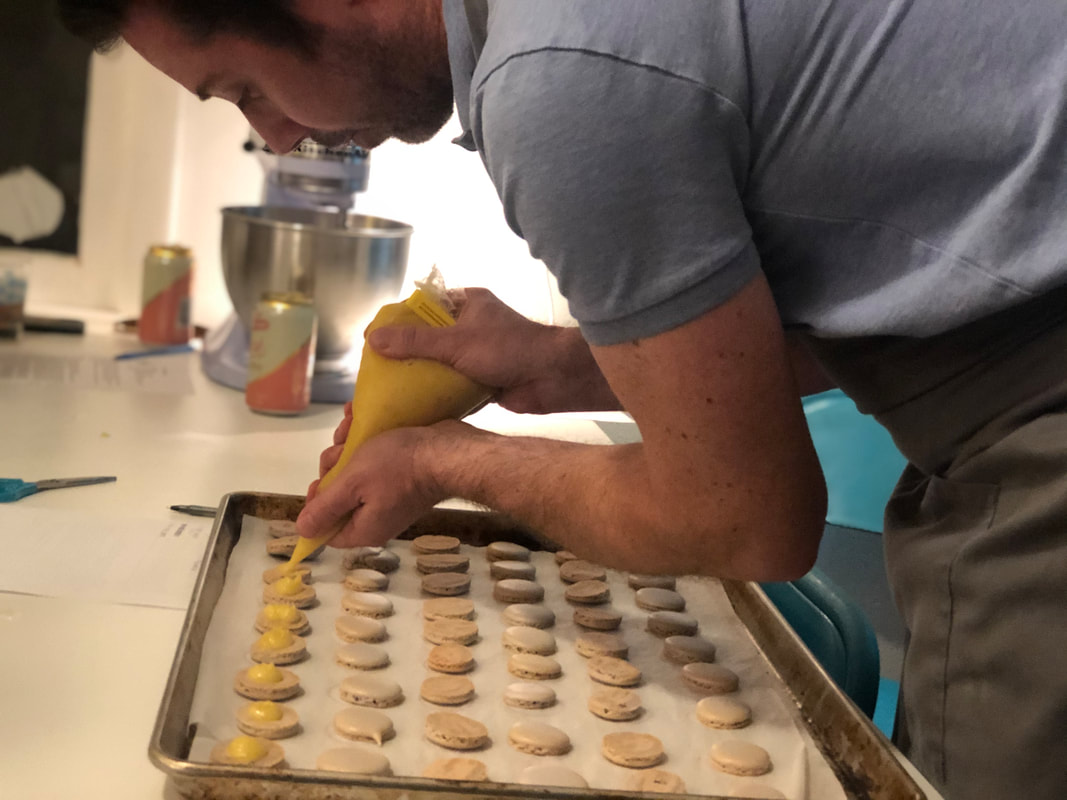 The last of the three mixing methods is also divided into three parts and is used for making most types of cake batters. Using a kitchen mixer for this method is the best way to make sure your batter is as smooth as possible. Use your paddle attachment, add sugar and butter into your mixer bowl, and mix until the mixture goes from a pale yellow color to a whiter color. This is the perfect opportunity to teach your kids how to operate a mixer, and to not put their fingers into the mixing bowl when the mixer is operating (no matter how delicious the batter looks!). Show them how to set the mixer up and remind them to switch it off after they are done with it. After the color changes, you can add in your eggs. Add them in one at a time and mix until just combined before adding the next. Finally, add the remaining wet and dry ingredients alternatively. Make sure you begin and end by adding in your dry ingredients, and mix slowly until your batter is nice and smooth. Learning mixing methods is just the first step Becoming a chef is a journey. Learning how to mix ingredients is one big step in your children’s journey to becoming independent and confident young chefs :)
If there is one thing we have learned in our kids cooking classes, it is that kids need to learn their tools! Introducing your kids to all the great kitchen utensils and tools is part of the fun when you're teaching your kids to cook! One of my favorite pieces of kitchen equipment is the kitchen mixer :) When I was little, the mixer held a place of honor in the kitchen. That mixer could turn egg whites into clouds and butter, sugar, and eggs into the smooth foundation of a cake. Needless to say, I was in awe of its power! After my mother taught me how to use it properly and safely, it became a trusty friend that came along on nearly all my baking adventures. Now, first things first, it has to be said that the kitchen mixer is not a toy. Before letting your kids handle it, you should teach them the right way to use it. Just like every other kitchen device, the mixer can be dangerous if it’s misused. Here are my tips on how to use a mixer safely :) The two types of kitchen mixerThere are two kinds of mixers we use in the kitchen and it’s handy to teach your kids how to operate them both. Every aspiring chef should know how to use both hand mixers and stand mixers. They both serve the same purpose, but they operate a bit differently. Hand mixerAs the name suggests, these mixers need to be held in your hand while operating them. They’re smaller than stand mixers, easier to store, and much easier to clean (don’t wash your hand mixer under running water, as water can get in and damage the engine). When operating your hand mixer, make sure the mixer is switched off before attaching the correct mixer paddles and plugging it in. The mixer has several speed settings but it’s best to start the mixer on the lowest speed setting when you begin and increase the speed if needed. Now, if the batter or dough you’re mixing is starting to resist, you can increase the speed a bit. Always keep the mixer paddles in the bowl while it’s operating, or you might end up with dough and batter strewn over your kitchen! (That will mean more clean up time :)) Finally, before removing the mixer from the bowl, make sure it has come to a complete stop. Remove the paddles from your mixer before washing them. Stand mixersStand mixers are bigger and stronger than hand mixers. It’s best to keep a close eye on your kids while they’re still learning how to use a mixer. Stand mixers consist of a stationary base and a top that has to be raised in order to attach the correct paddle and place the mixing bowl. Once you have the right attachment and the bowl is in place, the top can be lowered. The engine is located on the top of your mixer which means it can be heavy to raise and lower. Show your kids that the mixer can be heavy and make sure they know to ask for help if they need it. Before starting the mixer, use the lock setting to lock it securely in place, so that it does not bounce up when you start mixing. Just like with your hand mixer—always start the mixer on the lowest setting and increase the speed slowly. Never leave the mixer alone when it’s in use. Always tell your kids to keep a close eye on their mixtures. After turning the mixer off, wait till it comes to a complete stop before lifting the top, collecting your bowl, and scraping out the contents. In my experience, kids are more likely to take better care of things when they understand the consequences of each action. Ask them what they think would happen if they stuck their hands or a spatula in the mixer while it’s operating, or what would happen if they used it on the highest speed setting. Chances are they already understand that the results of those actions will be far from good. Appealing to their logic will make them better and more independent chefs. Now, this mixer may be a bit harder to wield, but once they’ve gotten the hang of how to use a mixer, they’ll be making some tasty recipes in no time! 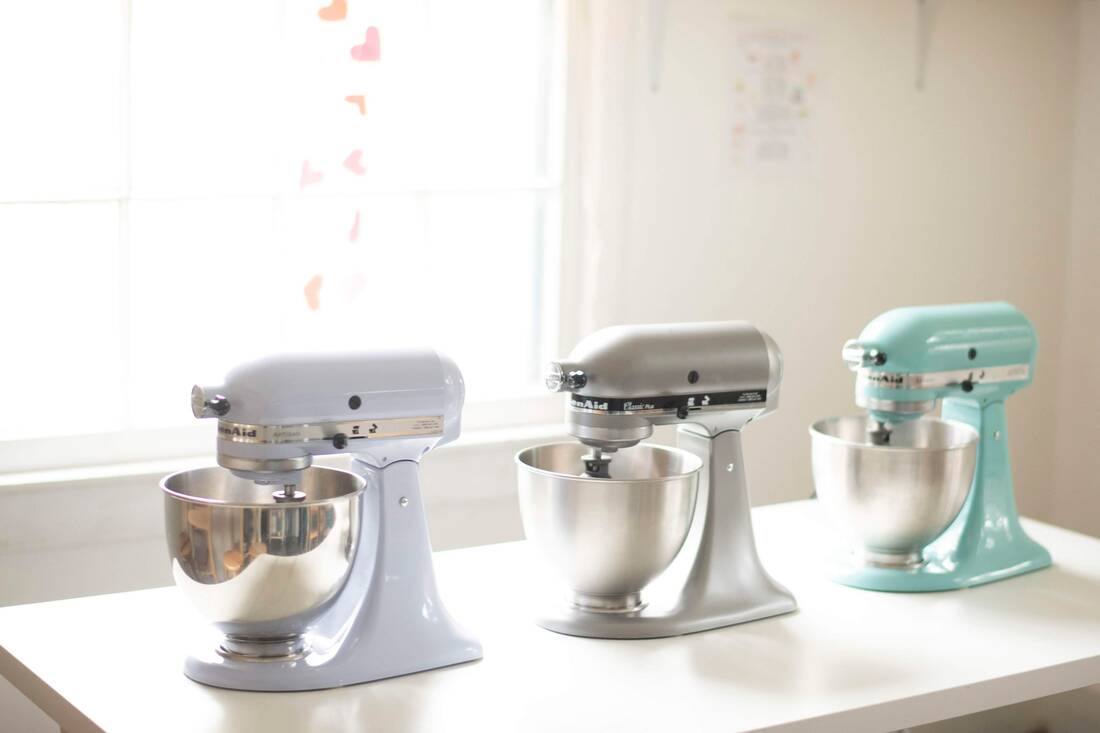 Learning how to use a mixer is one big step!Learning the basics of how to use a mixer is one step in your children’s journey to becoming confident chefs someday.
Enjoy your cooking adventures, and don’t forget to clean up! As parents, it can be a challenge to come up with party ideas that keep kids entertained and occupied throughout the event. If you’re looking for a unique party idea, I’d recommend making your kids’ next birthday party a DIY baking party. When I started my own forays into the kitchen when I was young, I would love having my friends over to try out new recipes and experiment with trusty favorites. Even after many years as a chef, I still think back to those hours my friends and I spent giggling over batter and sprinkles—especially when I’m trying out new recipes in the kitchen. Not only will your kids have a lot of fun baking and letting their creativity run riot, but they’ll also have some tasty treats to show for it! Here’s what you need to throw a baking party your kids will never forget :) Pick some fun cupcake recipesNow the first thing you need to do is pick some recipes for the kids to work on. I recommend baking cupcakes since they’re easy to make and easy for your guests to take home with them. Here are my recipes for delicious vanilla and chocolate cupcakes: Chocolate cupcakes:
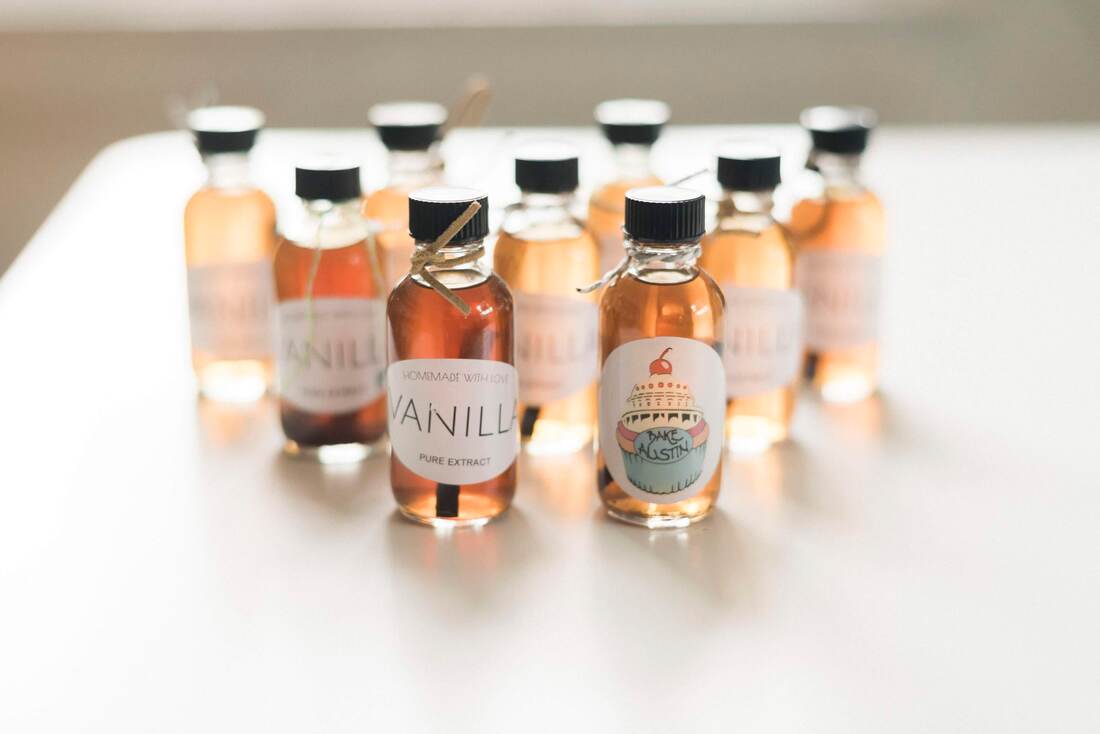 Vanilla cupcakes:
*Each of these recipes is for 24 cupcakes. If this sounds like too many for your guests, these ingredients can be halved easily :) Get some add-ins for the cupcake batter so the kids can try giving their cupcakes their own personal touch. Set up a little station with some chocolate chips, shredded coconut, raisins, and M&Ms. It may be a good idea to avoid adding any tree nuts in the mix, in case your guests have allergies. Have your cupcake pans and aluminum liners readyWhen the kids are done with their batter, it’s time to pop them in the oven. Try using two pans so you can put as many cupcakes into the oven as possible—and avoid keeping your guests waiting too long :) You can even use aluminum cupcake liners to bake your cupcakes. If you have enough of them, you can add them to your party favors! Decorating cupcakesBaking the cupcakes are fun but the kids will have an absolute blast when it’s time to decorate them. This calls for some good American buttercream! Here’s a buttercream recipe that’s enough for 24 cupcakes:
Food coloring and fondant will let the kids add some extra color to their cupcakes. Have one package of food coloring and a packet of fondant (use white fondant so the kids can make colorful designs on them) at the ready. Let’s not forget about the sprinkles! Have some sprinkles ready in zip-lock bags for each child at your party, this way they can take home any leftovers. 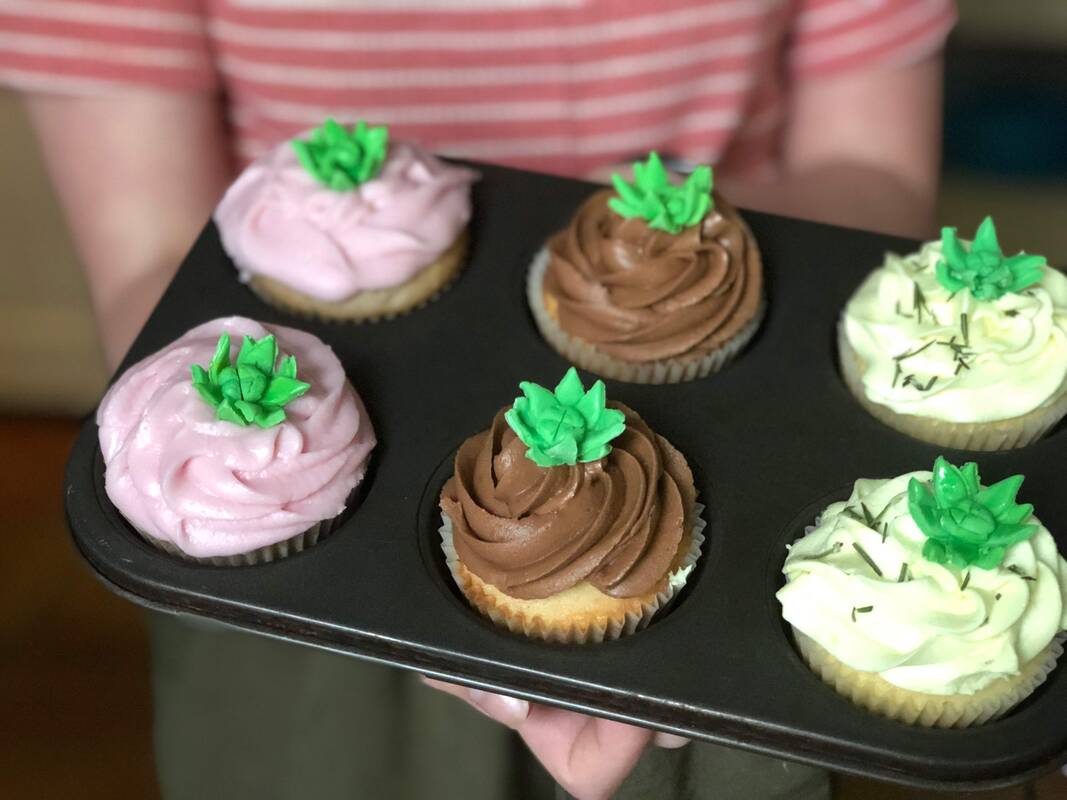 Make the fun last with party favorYou’ll want to give the kids some mementos to take home with them once the party ends. Get some pastry boxes for each of your guests, so they can take their cupcakes home. You can set them up for more cupcake adventures by gifting your guests a piping bag and some nozzles, so they can decorate their cupcakes at home. You can even add some decorations like sugar beads, sprinkles, or M&Ms into the box! The icing on top of the cake—decorating aprons!If you want to give your guests the complete pastry chef experience you can let them decorate their own aprons before they get started. All you need is a cotton apron for each of your guests and fabric markers for them to share. Not only do they get to take part in a fun activity, but they also get to take their personalized aprons home :) Make your DIY baking party one to remember I’m a firm believer that the best bonds are made and the most fun can be had in the kitchen, for both kids and adults alike.
A DIY baking party will allow your children and their friends to enjoy baking together and make precious memories (that are sure to last longer than the cupcakes). I have recipes I’ve developed over the years that I love with all my heart but even I find recipes a bit constrictive sometimes. I am a firm believer that the fun of cooking begins once you have a handle on the basics. Once your children are familiar with the basics of cooking, they are ready to dive in and try out their own ideas and versions of recipes. As hard as it might be, we need to take a step back and just let their creativity flow :) Creativity is so important for every child, and encouraging them to experiment with recipes and add personal touches to their dishes is a trait of every great chef. Let’s take a look at some creative kitchen inspiration ideas that your kids can use to give their culinary adventures an extra kick!  Showcase something new
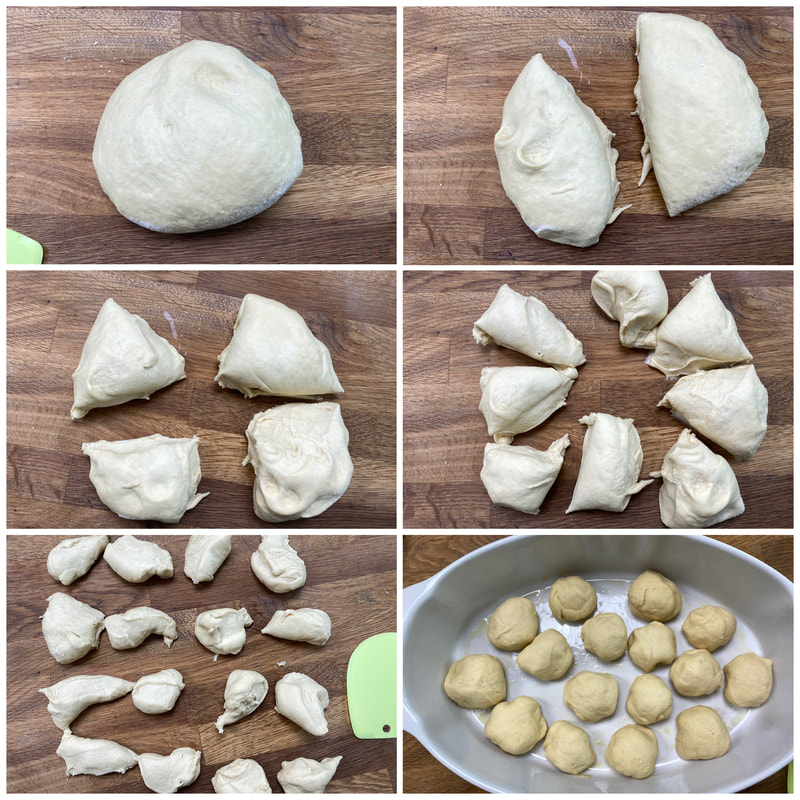
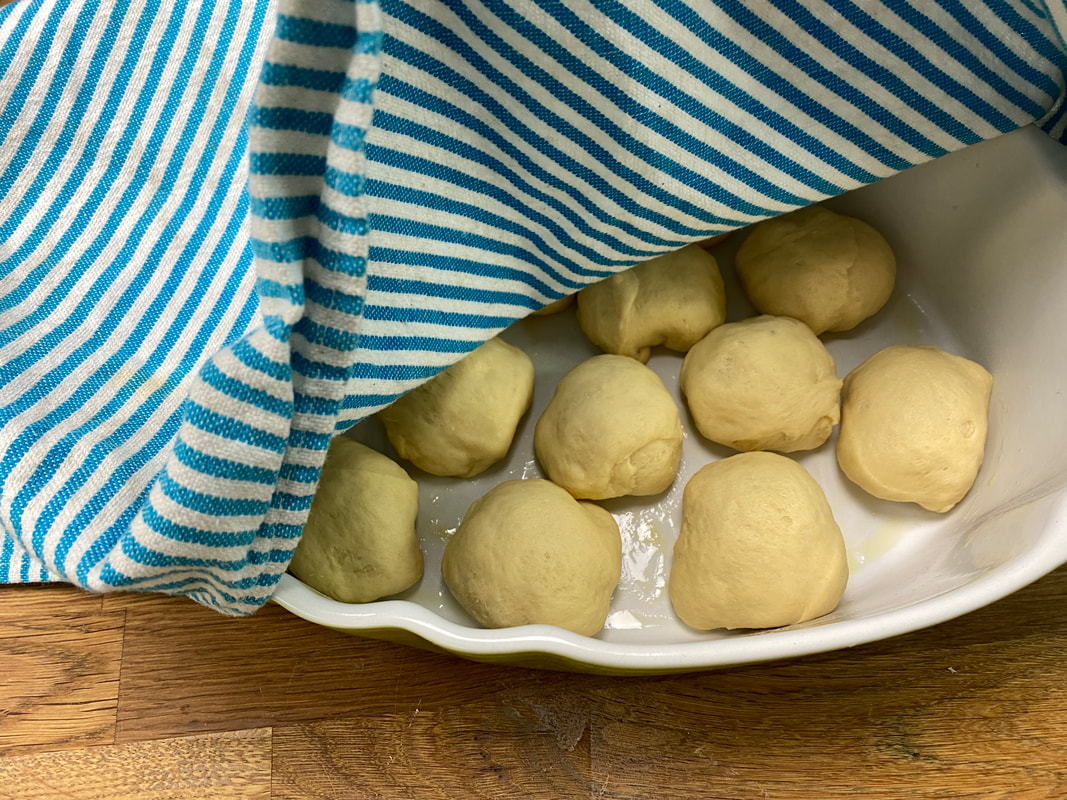
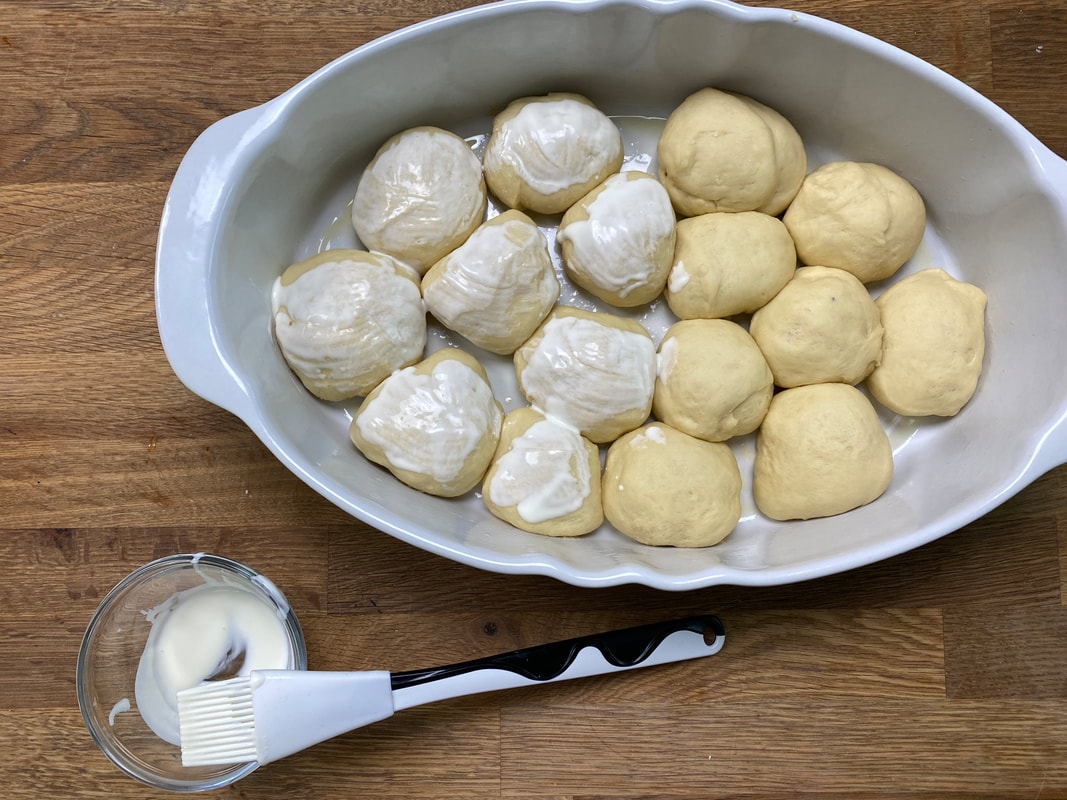
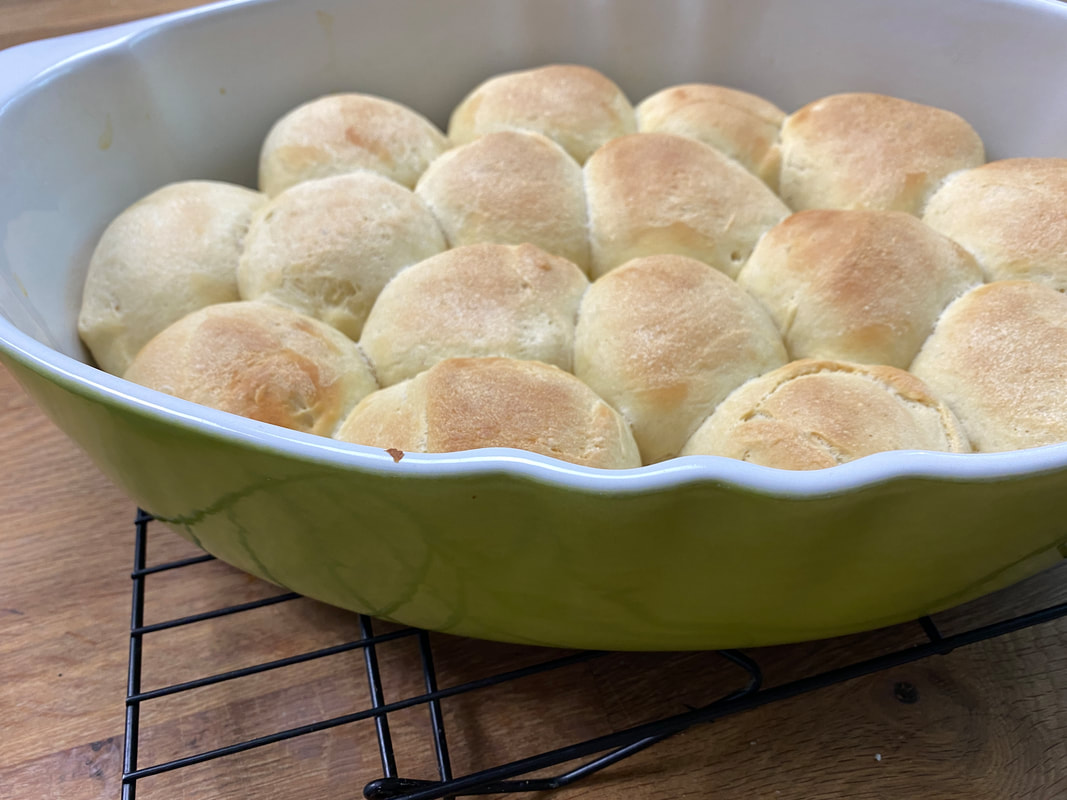
Let your kids go crazy with their cupcake decorations! Motivate them to try new styles and flavors, going beyond the requirements of the recipe. The freedom to experiment with a new flavor combo or showcase a new ingredient in their cooking could very possibly lead to an unexpected yet delicious surprise! Experiment with color Now, vanilla cupcakes can look a little boring (they taste great, though!), so why not let your kids have some fun by giving them a splash of color? It’s super easy—all you need to do is split the cupcake batter into two or three bowls and add different colors to each to make some colorful batter. Create layers of batter when filling the cupcake liners and you'll have multi-colored cupcakes! Plan a baking day with friends The more the merrier, I always say (especially when cooking is involved)! Arrange a fun baking day for your kids and their friends, where they can get together and try some recipes they’ve learned. When the baking and cleaning up is all done, they can all enjoy their goodies accompanied by some music and games. Assemble your own ice cream sandwich Who doesn’t love ice cream? I admit I have a weakness for it, especially ice cream sandwiches! Now, your kids don’t have to run after the ice cream truck for some refreshing ice cream sandwiches—they can make some right at home :) Take two chocolate chip cookies and add a scoop of your favorite ice cream onto one. Top it with some soft caramel candies and sandwich it with another cookie. That’s all you need for your very own delicious ice cream sandwich! Make some holiday bread Baking is a process that will teach your children patience, and sweet bread rolls are great for holidays. Your kids can make them into any shape they want, from a bunny for Easter to evergreen trees for Christmas. Let them experiment with different holiday shapes and see what cool ideas they come up with. Add some spice to your buttercream Buttercream is delicious enough on its own but sometimes, I like to add a twist to shake things up :) Throw some spices like cinnamon, cardamon, and maybe a little nutmeg in the mix. There’s a lot more you can add to buttercream, so let your kids explore with jams, tree nuts, and mints too! Lovely valentine toaster pies Here's a great kitchen inspiration idea to add some flair to toaster pies. Cut them into heart shapes or any other shape they’d like, and fill them up with some yummy cherry jam. Your kids will love making these and gifting them to someone they love, like their friends, or perhaps you :) Make infused butter Try giving regular butter a little twist by infusing it with other ingredients. Melt some butter in a pot and add popped popcorn or earl grey tea; let it simmer for about five minutes, and then strain the ingredients. Now pour the butter into a heatproof container and let it cool and harden in the fridge. Your kids will love this unusual butter in their buttercream recipes! Add a surprise to your cupcakes You know how popular cupcakes are; now imagine how popular a surprise cupcake would be! It’s easy to do; simply scoop out a bit of the center of a baked cupcake and let your kids decide what they’d like to fill it with: chocolate, hazelnuts, fruit preserves—anything goes. Don’t forget to frost the cupcake so the surprise stays hidden! Have some fun with new kitchen inspiration ideas Giving your kids some space and letting them use their imagination in the kitchen is a great way to inspire confidence and show them that you believe in them. Have them try some of these kitchen inspiration ideas on their next cooking or baking project, and enjoy the amazing dishes they create :) One of the most important things every chef should know is how to use a knife properly. Using a knife for the first time can be pretty scary. I remember learning to use my mother’s kitchen knives when I was a child—I was so nervous! Using a knife isn’t just scary for your kids, you may also feel a little hesitant about letting your little ones handle sharp objects. Now, if your kids are still very small, I would not recommend letting them use a knife or any sharp kitchen utensil just yet. If they’re old enough and you are confident in them, however, now is the time to teach them some knife safety with these tips! 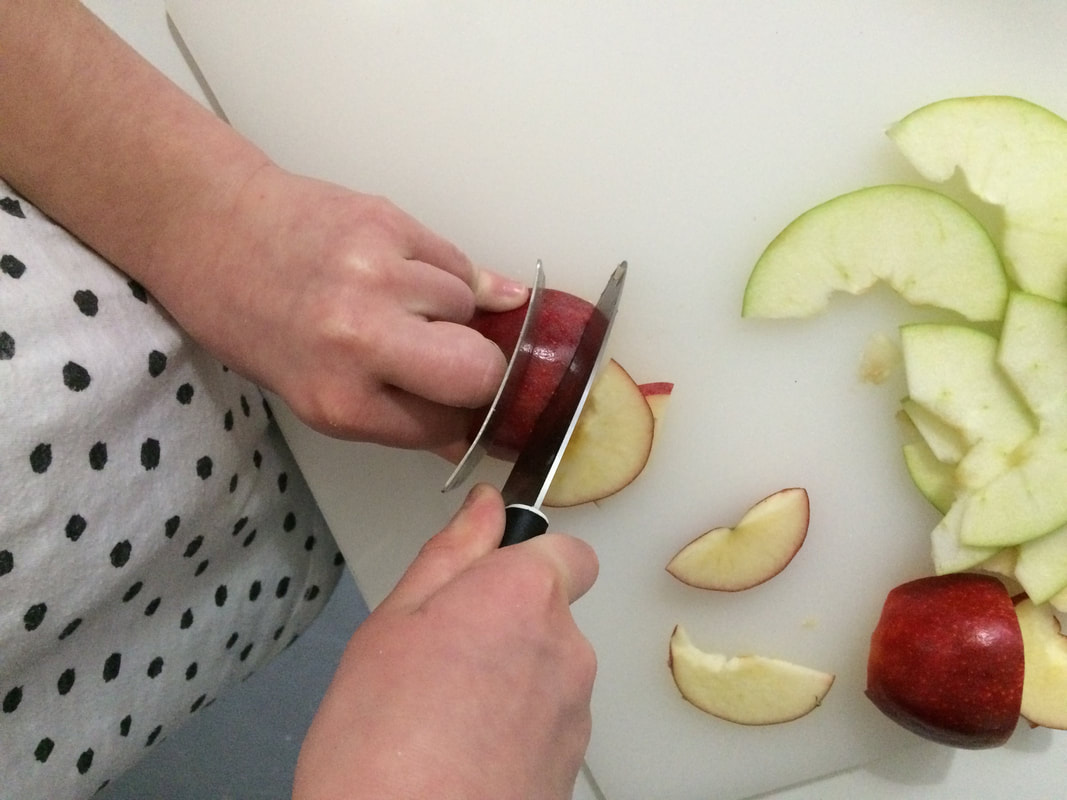 Always pay attention!Remember, knives are not toys. The most important thing you should tell your children to do when using a knife is to always pay attention. They need to keep their eyes on the knife, their hands, and their fingers at all times. Kids tend to be distracted easily and this can lead directly to knife cuts. Make sure there’s nothing in the kitchen that can distract your little ones while they are using a knife. If you have a kitchen TV, make sure you keep it turned off. Always keep a close eye on your kids when they are using knives in the kitchen (especially early on in their cooking journey). Use a cutting boardNever let your little ones use kitchen knives without a cutting board. It provides a stable surface to work on, while also avoiding any damage to your kitchen counter. I like to place a towel under the cutting board so there’s no chance of the board slipping and causing an accident. Use the right grip and cutting techniqueA very important thing to remember is to show your kids how to properly hold the knife. Teach them to wrap their hand around the handle and place their forefinger on the knife bolster. This is a safe and stable way to hold a knife. Next, show your kids the right way to cut. Place the tip of the knife on the board, and then carefully bring it down on what your kids are cutting. Avoid letting your kids cut rounded items for now since those could roll. Instead, give them something with a flat surface to cut, or cut off a slice of an item and lay it down on its cut side to keep it stable. You can even start them off by cutting soft food items, like dough or bananas, for now. The safest way to handle a knife is with a steady claw grip. Make sure your little one’s fingers form a claw on the item they need to cut. This will keep their fingertips safely away from the blade while cutting. Keep the knife away safely after useOnce your kids have finished cutting with a knife, teach them how to properly and safely keep it away. One thing I’ve noticed is that once kids become more confident in their knife skills (as they should) they start traveling around the kitchen with the knife—do not let them do this! When my kids took to doing this, I’d call out, “Knife walking!”, to stop them in their tracks. The phrase makes me chuckle, but walking around the kitchen with knives can be dangerous for both your kids and anyone else present in that space. It’s important that you nip any “knife walking” in the bud. Teach your kids to store their knives or place them down safely, somewhere where they are visible and accessible, once they’re done using them. Finally, clean up! Show your kids how to properly clean a knife without cutting themselves in the process. Also, remind them to never leave knives in a sink full of soapy water. If someone reaches into the water when there’s a knife in there, they could get a nasty cut. Practice knife safety for happier memories in the kitchenEvery cooking adventure starts with taking some precautions. While you can use a knife guard for your kids, I’ve found that proper knife safety is much safer and more necessary than a knife guard.
When you teach your kids to cook, you get the chance to make precious memories with them—memories you and your kids will always remember. So, make sure your kids learn how to use a knife safely while cooking and get ready for some amazing cooking adventures:) Sometimes, letting our kids into the kitchen can be very stressful. There are just so many things to worry about: Will they hurt themselves? Burn something? Leave the stove running? My belief has always been that the best way to help kids become more responsible in the kitchen is to give them some independence :) When you give your kids their own personal space and freedom, they tend to become more trustworthy and responsible. If you’re a parent, this can be a scary thought especially when it comes to the kitchen, but it’s a step we all need to take. Here are a few ways you can give your kids independence in the kitchen! Give your kids a place to store their cooking utensils The first step in giving your kids independence is getting them the right equipment. A good idea is to give your kids a set of their own kitchen utensils. These can include potholders, small pots and pans, and a fun, kid-sized apron! You can also give your kids their own set of knives if you are comfortable with it—if they are still very young, I recommend getting them started with plastic knives. Keep a small cupboard in the kitchen to store all of your children’s equipment and teach them to use it. If you don’t have a cupboard to spare, try getting them a small trunk or even a bucket. When your kids have their own equipment and space to store them, they will feel more independent and comfortable in the kitchen since they know where everything is and will know they have their own utensils. As part of this, teach your little ones to always wash their utensils before using them or putting them away! Get your little ones a small kids’ oven When my son was younger, I remember getting him a little kids’ toaster he could use to make snacks for himself. He still has it today :) Small kids’ ovens, like the easy-bake oven, are safe and easy for kids to use—more than that, they’re gifts your little ones will always cherish! Keep the oven in the kitchen, so every time your children are in there, you can direct them to use that instead of the main oven—at least until you are ready to let them use it. Using a kid’s oven will help them understand some of the basics of baking and eventually, they’ll be baking snacks all by themselves! Get them involved in clean-up time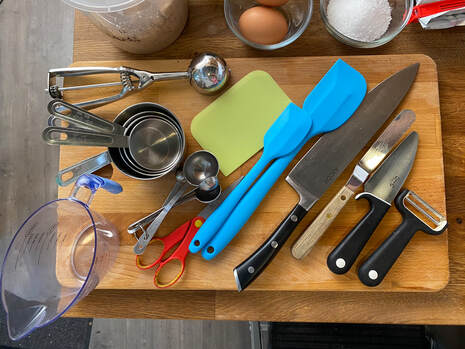 Now for one of my favorite parts of cooking—cleaning up! Cleaning up is super important and your little cooks should practice cleaning up every time they finish up their cooking adventures. If your kitchen is large enough, you can try sparing a small section for your kids to work in. Encourage them to clean up their little spot when they’re done. As I’ve seen, when kids have their own little corner, they feel motivated to keep it clean and tidy all by themselves! If your children are old enough, don’t let them run away after just cleaning up their spot in the kitchen. Ask them to help you tidy up the other areas and make sure everything is spick and span :) Giving your kids greater independence will make them better bakers! When kids are given their own space and their own tools, they tend to become good and responsible bakers :)
When you teach your kids to cook, you open up a whole new world of possibilities and give them the opportunity to have new cooking and baking adventures every day. When it comes to baking, measuring is key. It’s one of those little things that can make a huge difference between a dry cookie and a soft cookie, or a well-risen cake and one that ends up a little flat. A tip I often give people when they say they can’t bake to save their lives or that their last baking adventure was a disappointment is, “Check your measurements and try again”. As you gain more confidence and more experience in the kitchen, you can also start experimenting with recipes and taking liberties with measurements. Adding a little lemon zest, or cutting some sugar in your favorite, tried-and-tested recipe can take your treats to an all-new level! If you’re just starting out or just starting to introduce your kids to the wonders of baking, I recommend sticking to specified measurements. The good news is that learning how to measure ingredients is a very easy lesson to learn! If you’re teaching your kids how to measure ingredients for the first time, or just want to give them a quick refresher into what they already know before letting them back in the kitchen—here’s some information I’ve put together! 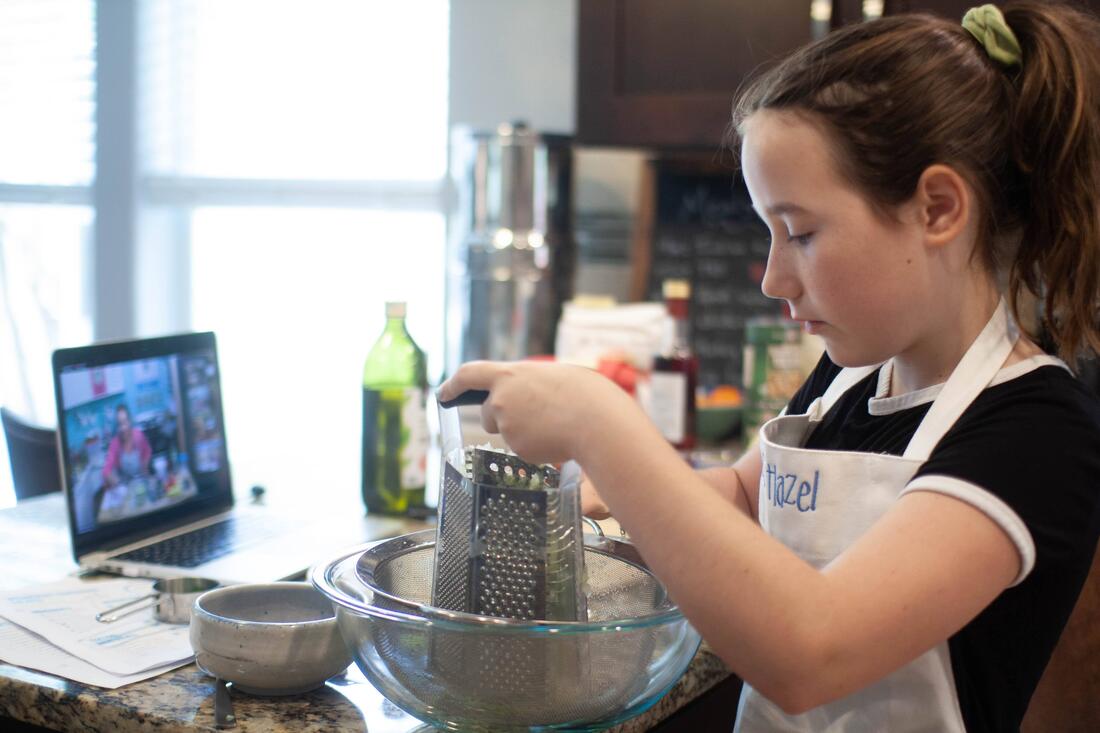 Meet your measuring toolsStandard units of measurement differ slightly according to where you are in the world. In the United States, standard kitchen measuring tools are cups and spoons. Here’s how to use these tools, what ingredients can be measured with each, and some tips on how to measure your ingredients. Measuring cupsThese come in four different sizes: 1 cup (one cup) ½ cup (half a cup) ⅓ cup (a third of a cup) ¼ cup (a quarter of a cup) This measurement can be found inside the cup, on the handle, or sometimes even on the bottom of your cup. I personally find the ones that have the measurement marked on the handle much easier to use :) You generally use your cups to measure dry ingredients like flour, sugar, and powdered sugar. If you’re teaching your kids how to do the measurements themselves, you may want to demonstrate the easiest way to do this to help them avoid making too much of a mess. First, dip your cup into your dry ingredients and bring up a heaping cup full of it. Then, use an offset spatula or a butter knife to push off the excess gently and level your cup. Your flour shouldn’t be heaping over your cup, it should be level with the rim. The only time you will need to use a packing technique with your measurements is for brown sugar. Brown sugar is the only ingredient that will need to be packed down into your measuring cup. The process for that starts off the same as measuring any other dry ingredient. First, dip your cup into your brown sugar and sweep just a little bit of the excess back into your container. Then, press your brown sugar down into your measuring cup with your hand until it’s tightly packed. It’s as easy as that! Measuring spoonsMeasuring spoons also come in four different sizes: 1 tablespoon (one tablespoon) 1 teaspoon (one teaspoon) ½ teaspoon (half of a teaspoon) ¼ teaspoon (a quarter of a teaspoon) Your measuring spoons are for ingredients that are used in small amounts like baking flour, baking soda, and salt. You can use the same dip and level technique with your measuring spoons as you do with your cups. Dip your spoon into your ingredient like baking powder, then level it with an offset spatula or butter knife. Alternatively, containers like baking powder cans come with a little ledge that you can run your spoon across to sweep off the excess :) Liquid measuring cupWhen you’re measuring out your liquid ingredients like milk, water, and cream, you can use a liquid measuring cup if you have one. All you need to do is make sure you place your measuring cup on a level surface like a kitchen counter. Then, just pour your ingredient directly into the cup and watch it carefully to make sure you hit the right measurement that is marked along the surface of your cup. I like to bend down so my eyes are on the same level as the measuring cup for more accurate measurements :) Now that you know how to measure ingredients, you’ll be unstoppable!Learning little kitchen skills—like measuring—will set you and your kids on the right path to more delicious treats and much more success with all your baked goods :) Good luck!
Baking is a fun and healthy way to spend time with your kids and introduce them to the joys of cooking. When I was little, I loved cooking with my mother. We started with simple no-bake recipes until we were both more comfortable with me around the oven! Scaring your kids about the dangers of ovens is an easy way to make sure they don’t get hurt. Teaching them the safest way to use ovens, however, molds them to be more independent and gives them more confidence in the kitchen :) Ovens can be dangerous if not used carefully. Many kitchen accidents have been linked to ovens, so it’s very important that you teach your kids how to use an oven safely. Now, let’s look at how you can teach your kids about oven safety!  Make sure their hands are protectedThe first and most important lesson you can teach your kids is to never touch the oven without protecting their hands. Make sure you have some good, child-sized oven mitts ready for your kids to use. Having a pair of potholders will be a good alternative if you don’t have any mitts available. Remember to keep your oven mitts or potholders dry because wet mitts and potholders actually conduct more heat and make them more dangerous than safe for your child. As an added precaution—get your kids to wear long-sleeved shirts to protect their arms while baking. This will offer them more protection while they’re navigating the kitchen and bumping into appliances. Once your little bakers are safely geared up, it’s time to turn on the oven! Getting the oven readyThe next important step in oven safety is getting the oven ready for baking. Before you start baking, you need to make sure your oven is ready to be used. Check if it’s empty and that your oven rack is in the right position (I like to keep mine in the middle because that’s where most of my baking takes place!). Now it’s time for the all-important preheating. Every oven is different, so show your kids how to turn on the oven safely and wait for it to be preheated completely. Certain ovens will give you a signal when they’re done preheating—this is an easy way to know exactly when the oven is ready to be used. If you’re not sure about the temperature of your oven, you can consider investing in a handy oven thermometer. All you need to do is hang it on your oven rack to check how it's heating up! I also recommend you let your little ones watch how you prepare the oven the first time around, and then supervise them as they learn to follow the process themselves. While the oven is in useNow that the mittens are on and the oven’s preheated, it’s time to get baking :) If your kids are very small, help them with the following steps or have them observe you. When opening the oven door, teach your kids to stand directly in front of it and open the door as wide as it will go (oven doors are heavy, so you may need to lend your little baker a hand with this step). After the door is open, teach them how to place their tin or cookie sheet on the oven rack securely and gently push it into the back of the oven. Once everything is in place, show your kids how to close the oven door safely. Now, set a timer and play the waiting game! Setting a timer is the best way to avoid burnt goodies and make sure your kids maintain a safe distance from the oven while it’s in use. It’s also a good way to make sure their impatience doesn’t get the better of them and they open the oven door before their goodies have a chance to be cooked through! Once the baking is done, show your kids how to take out the tin or cookie sheet (using a pair of oven mitts or potholders, of course) and place it on a cooling rack straight away. Then make sure they close the oven door completely. Now for another important part—turning the oven off. Teach your kids to never leave the kitchen without turning off the oven. To make it easier for your little ones to learn oven safety, make them a little checklist of things they need to do when working with the oven so they remember every step and they’re safer in the kitchen. Oven safety means more fun baking adventures!By teaching your little chefs how to use an oven safely, you can all look forward to many more successful kids’ cooking classes without the stress of kitchen mishaps! :)
|

AuthorBefore founding Bake Austin, Pascal Simon earned her degree as a Pastry Chef from the prestigious Auguste Escoffier School of Culinary Arts. A mother of two, Pascal is passionate about cultivating the next generation of bakers and welcomes children from all schooling backgrounds, whether public, private or homeschooled. Archives
October 2023
Categories |

 RSS Feed